I decided to make a stuffed animal whose eyes lit up for this project. The switch would be in the animal’s hands. When you hold them together, the circuit would be complete.

I started with a plush souvenir bear, then opened up the seam on its back and removed the stuffing and eyes. The eyes were tricky to get out and I ended up having to use a dremel to cut the fasteners inside the bear’s head.

After I had enough of the stuffing out I sewed patches of conductive thread on the bear’s hands. I planned on threading the wire under the patches inside the bear. This proved hard to do later, and I should have sewn the wire in while I was sewing the patches in.
I planned on using a 9V battery to power the bear, since I already had one in my toolbox. This meant doing a little light math to see what kind of resistor I needed to use.
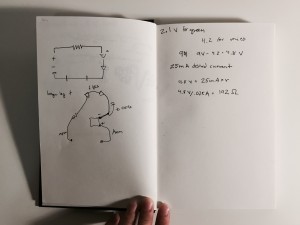
You can also see my basic circuit diagram and how I sketched out what the wiring would be inside the bear.
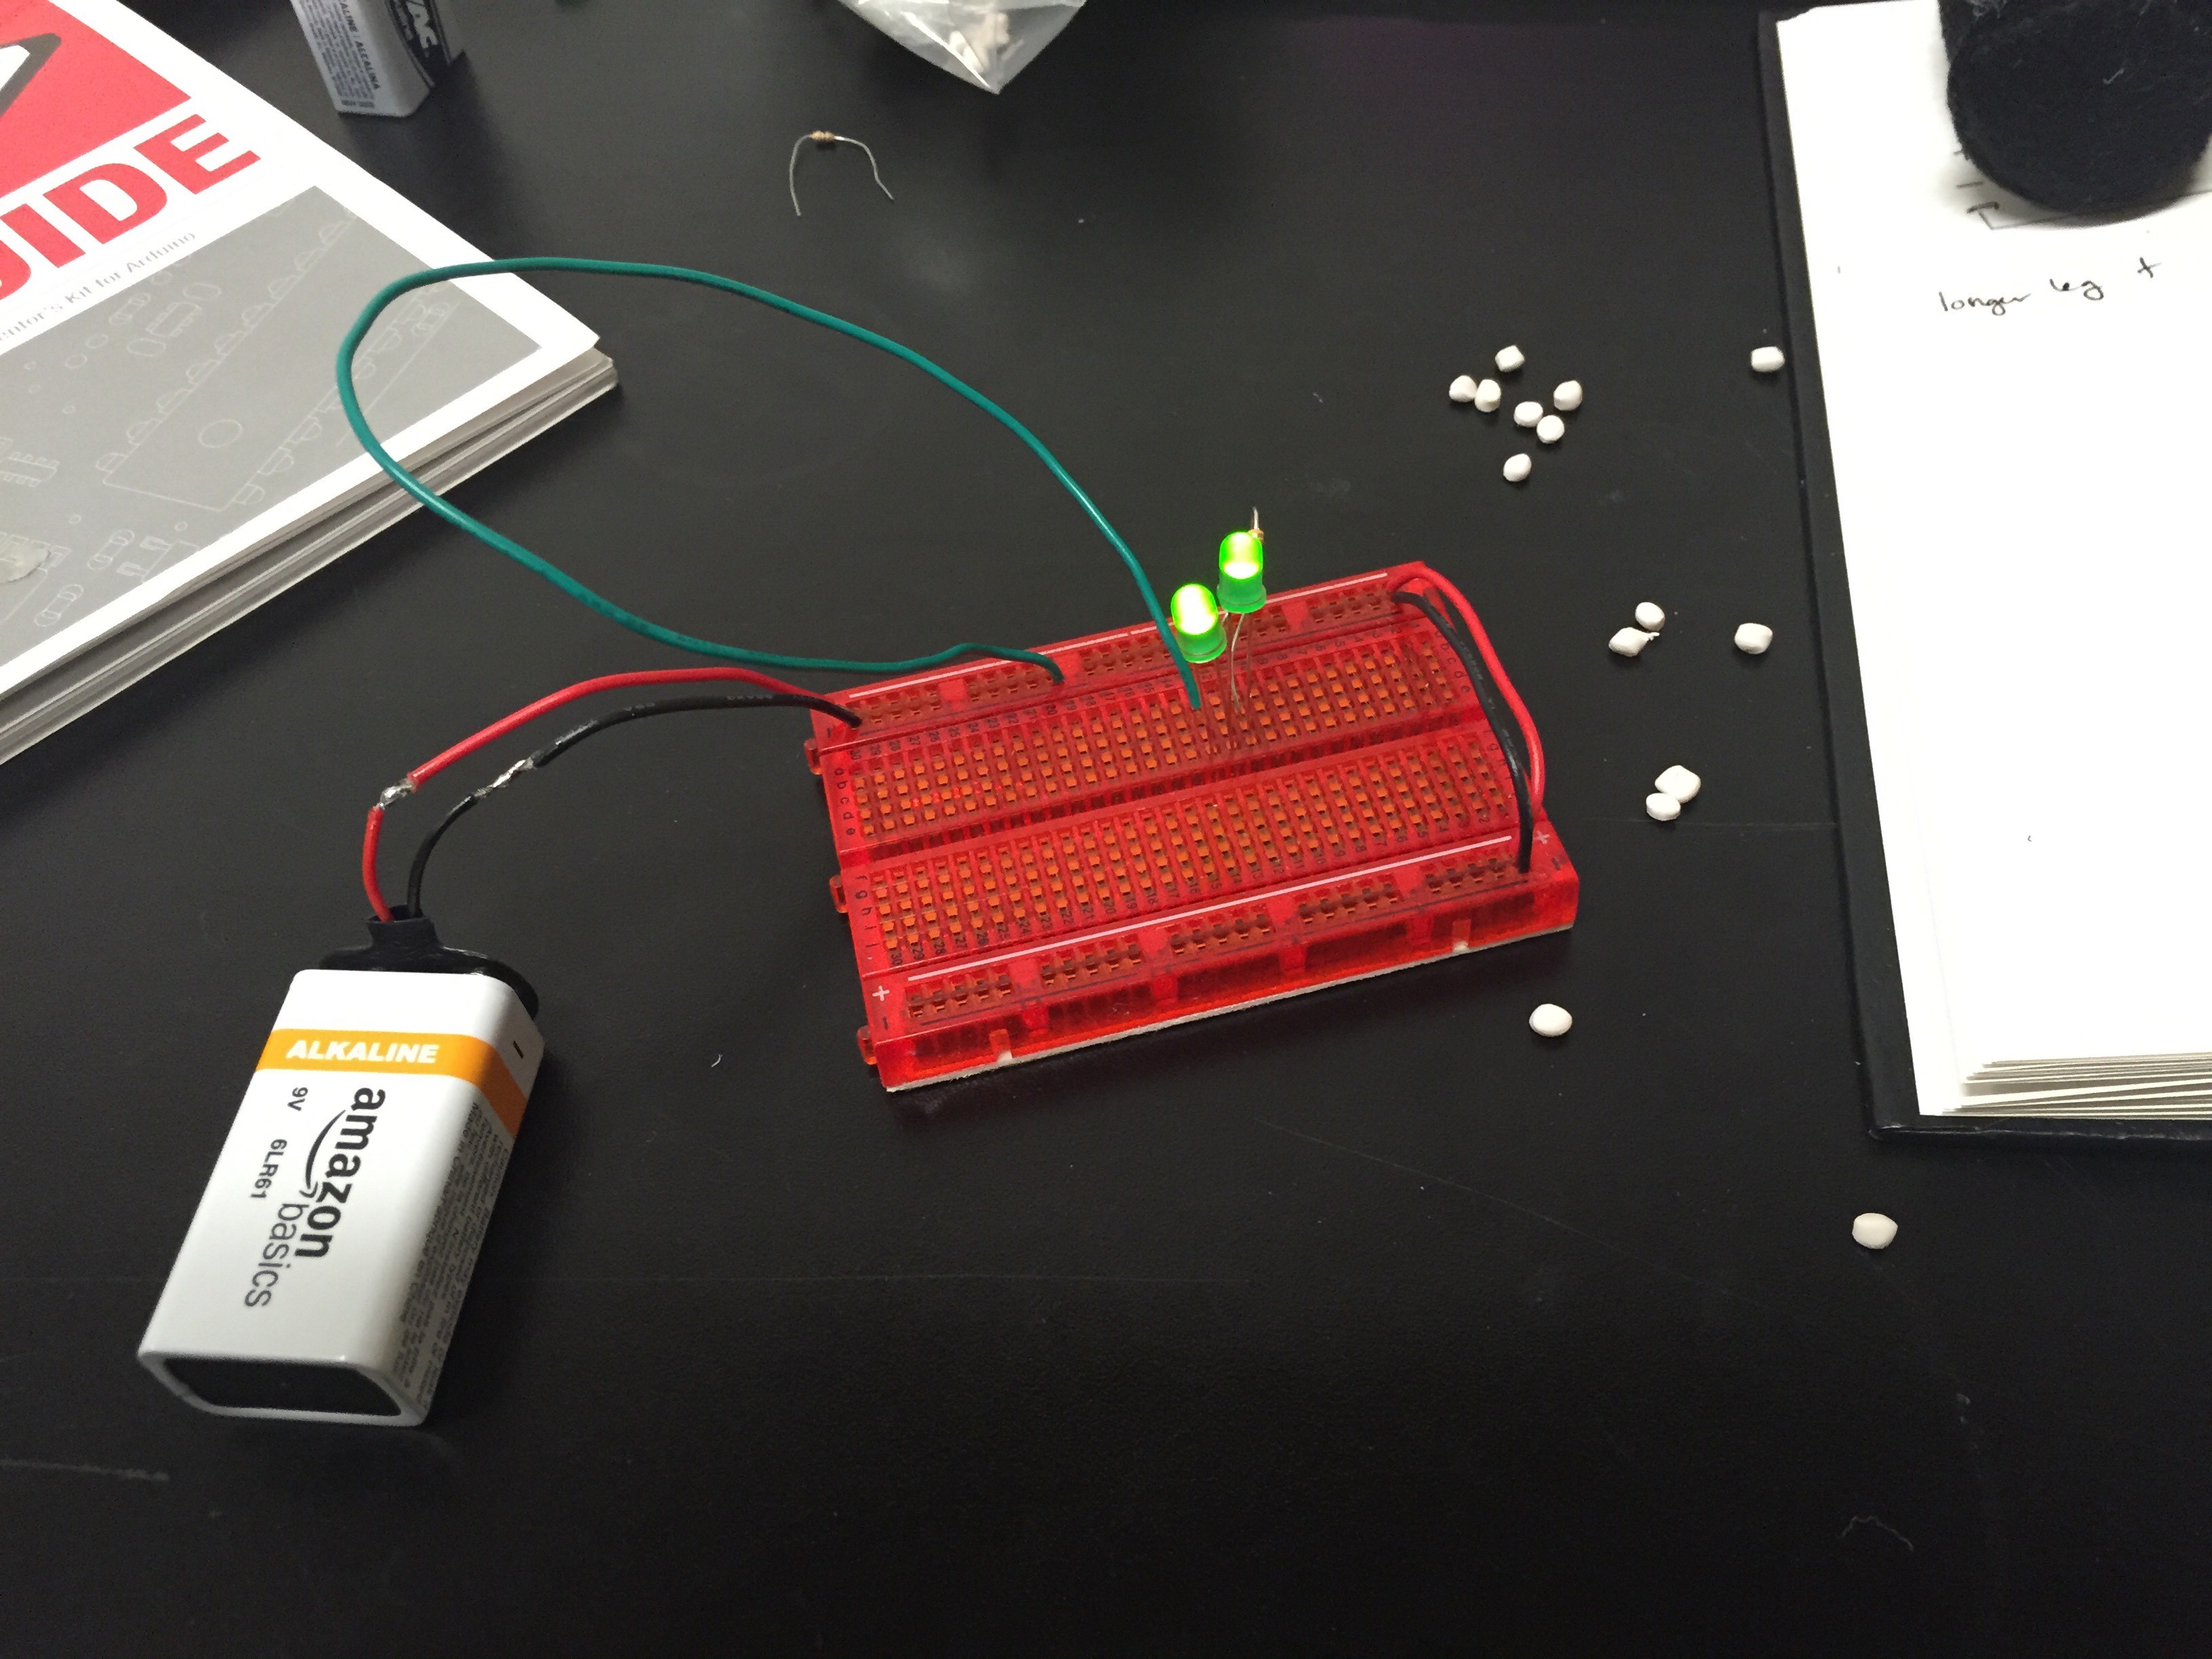
Next I built the circuit on a breadboard, to make sure everything worked the way it should. You can’t tell from the picture, but there is a 200 ohm resistor in there along with the LEDs.
Next I wired up the inside of the bear. I didn’t end up soldering the wires in place, because this version of the project it pretty basic. I wanted to leave myself the option of cutting everything out again without ruining too much work. Instead I used ‘jeweler’s loops’ to secure the wires and then crimped the ends together. I don’t have a picture of this step because I was so happy to get everything together that I forgot to stop and snap one.
As soon as I got all the wiring done I took a quick video of the eyes lighting up. Then I stuffed the bear back up. I safety pinned the back of the bear, so I can take him apart again later if I want to.
It might be nice to get some LED holders for the eyes so they don’t stick out strangely like they do now. He could also use a nice zipper on his back instead of the pins.